fbpx
Search

Plastic Cup Ornaments With A Free Printable

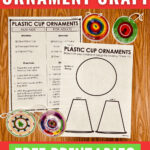
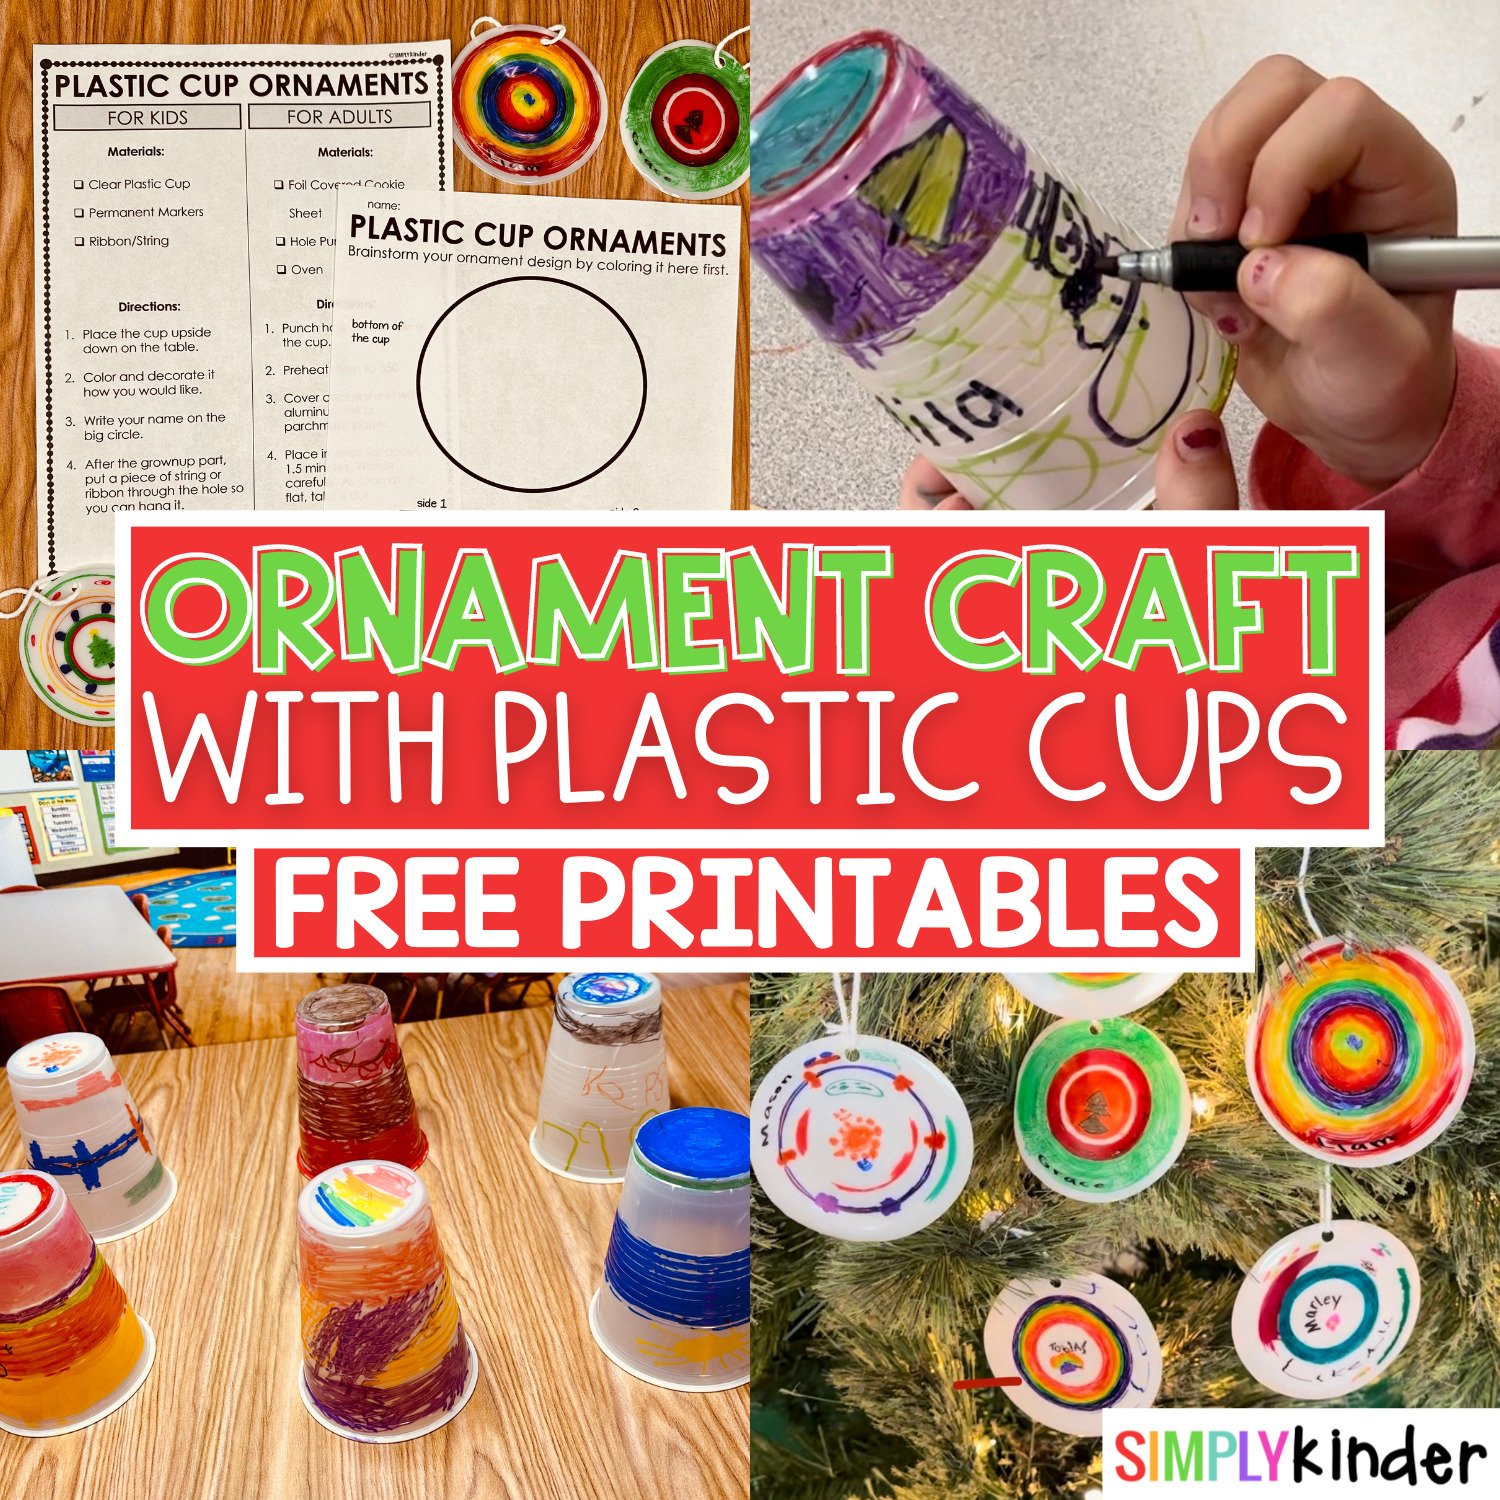
Looking for a great hands-on activity for December? These plastic cup ornaments are so cute, low-prep, easy, and cheap! They make great family gifts or something fun to decorate your classroom. Win-win for teachers! Perfect for your preschool, kindergarten, and first-grade classes. Keep reading for tips, directions, and a FREE printable to help your students plan.

Read directions and tips for creating these low-pep, easy, adorable plastic cup ornaments with your kindergarten class this month!

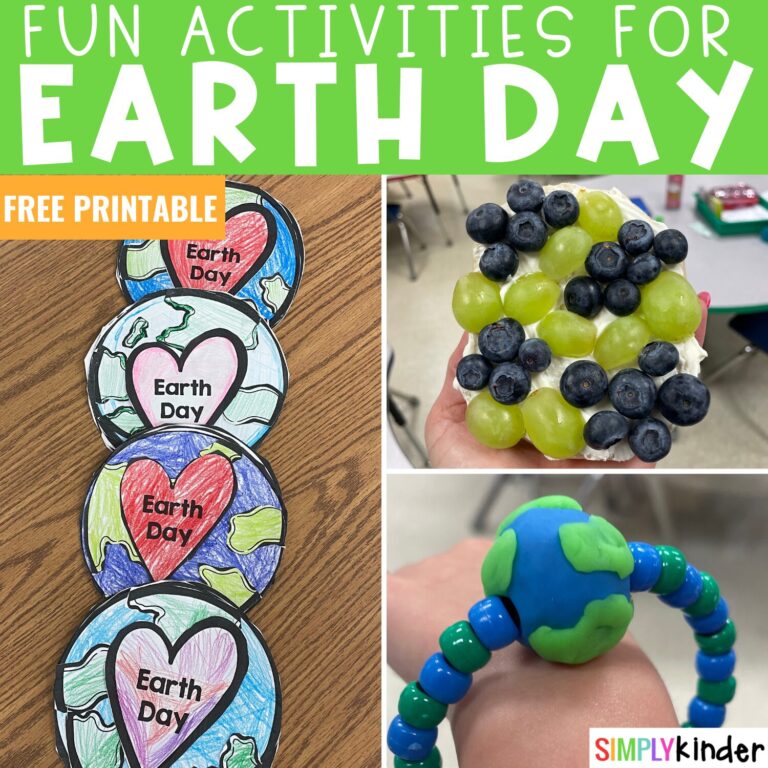
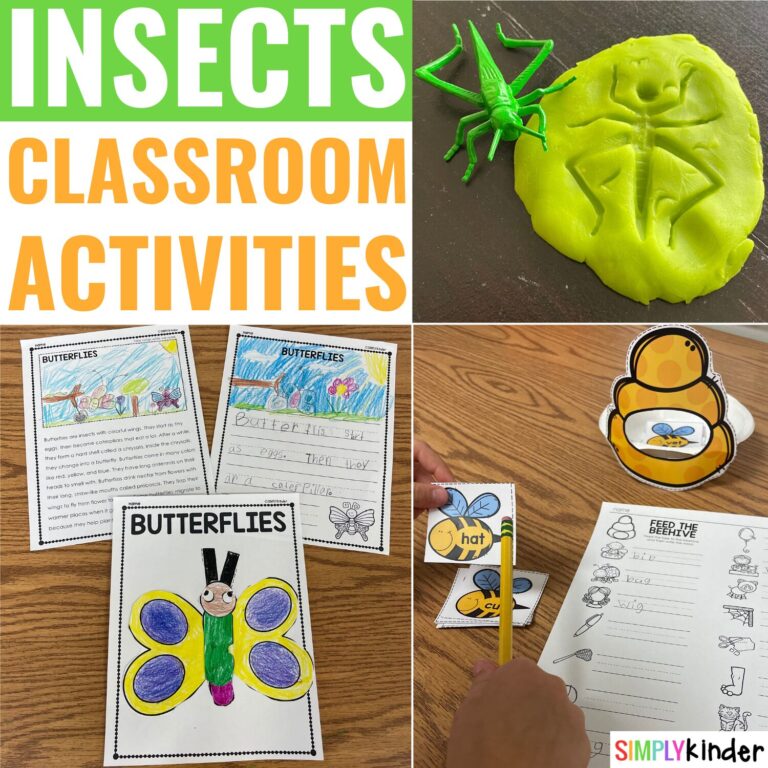
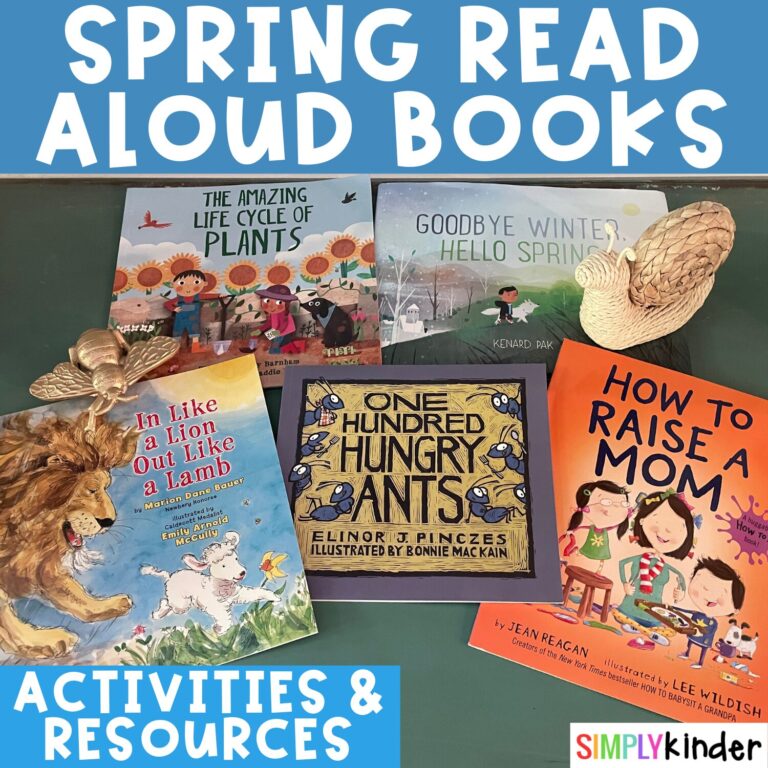
Check out these related articles:

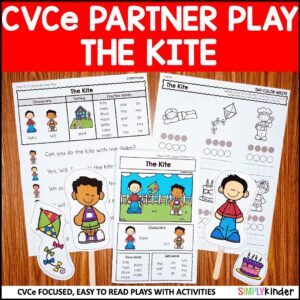
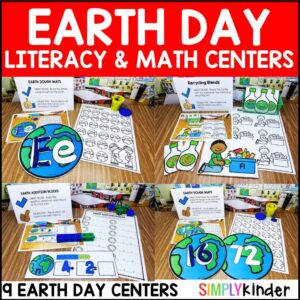
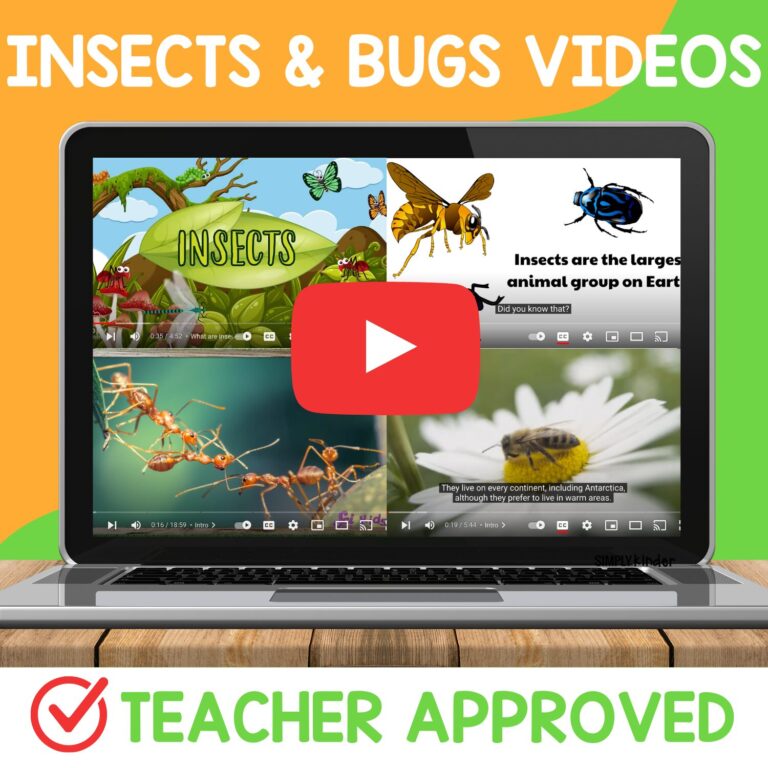
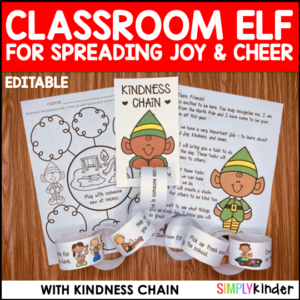
This Activity Goes Well With These Simply Kinder Resources:

Ornament Craft with Plastic Cups

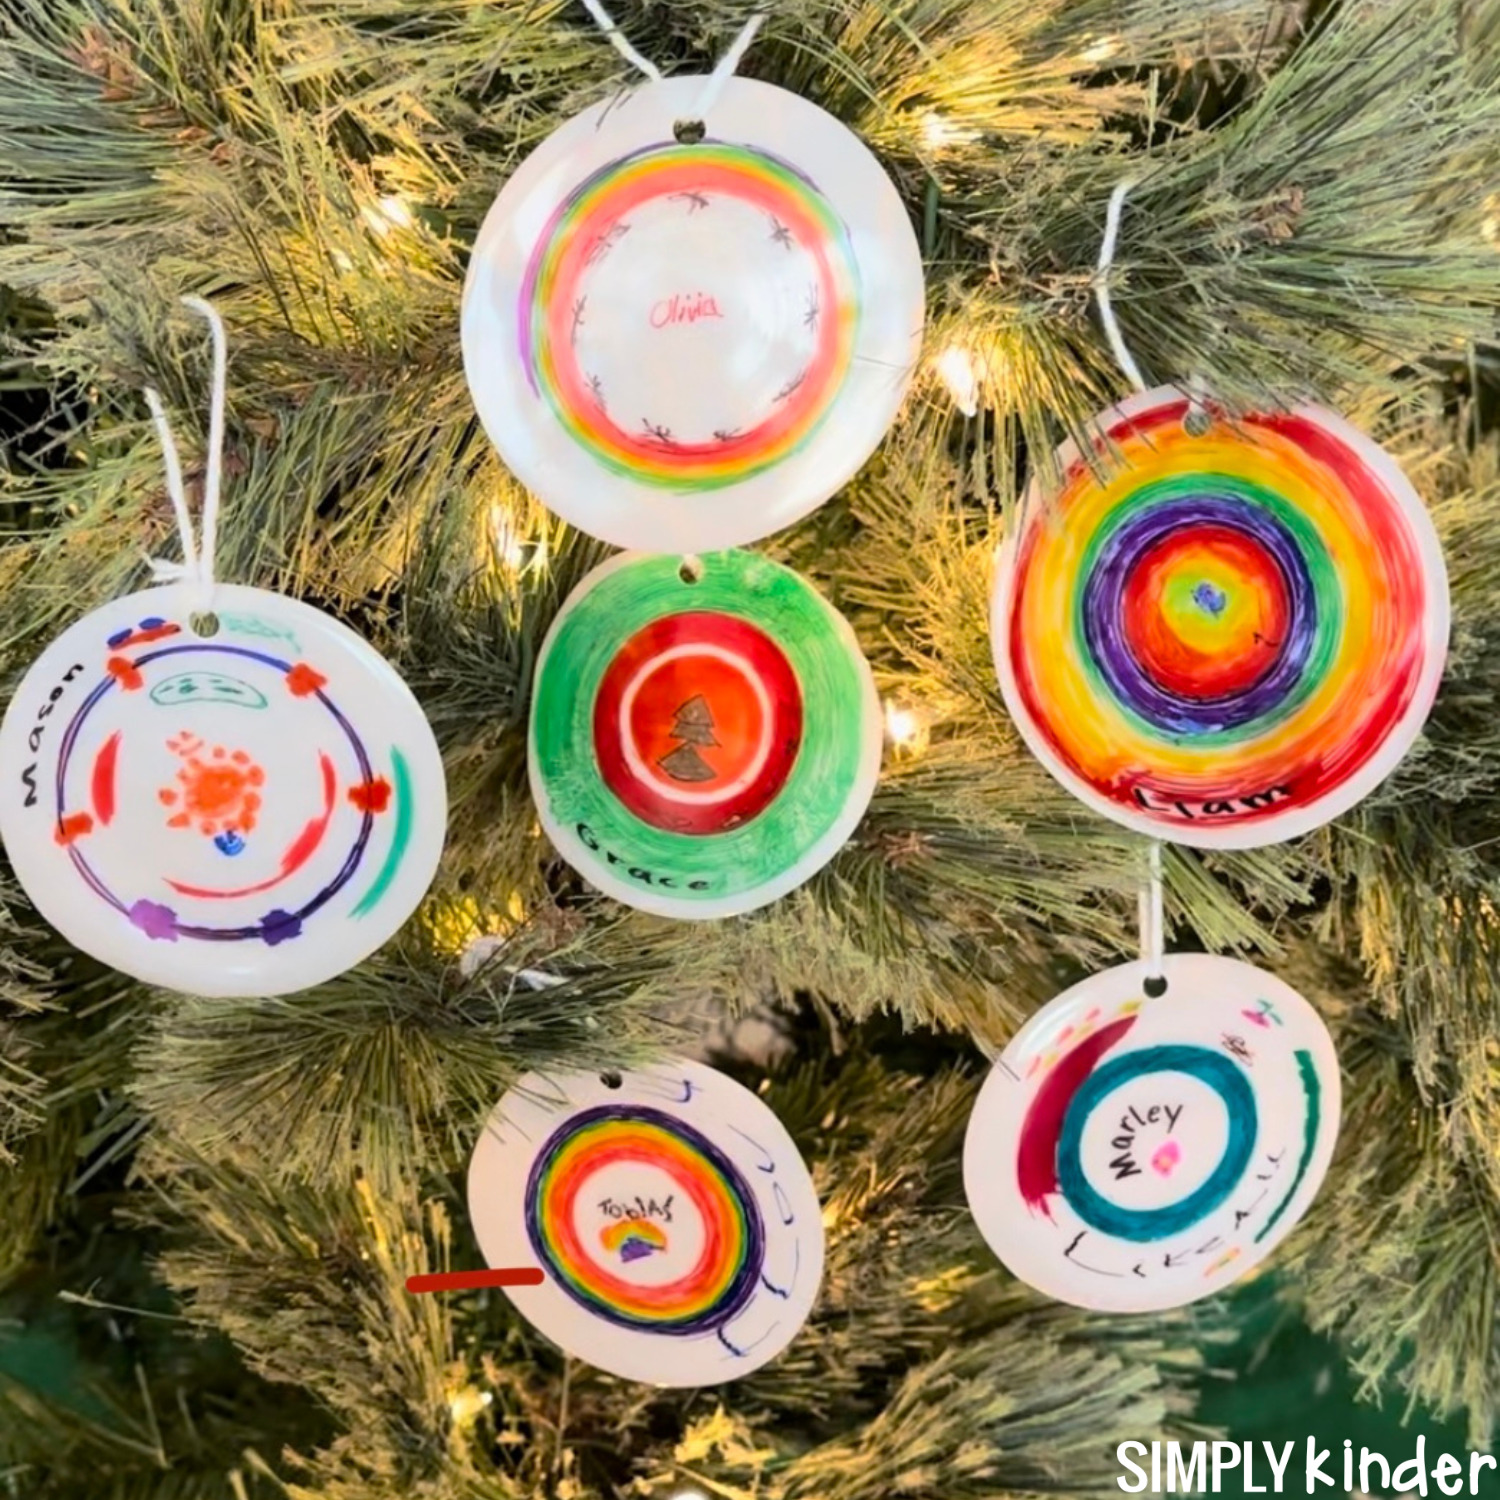
Students LOVE making crafts, especially around the holidays. If you’re looking for a new idea this year, these ornaments that are made from melting-down plastic cups are perfect. It’s cheaper than buying the shrinky dink sheets, and students like the freedom to create whatever they want. It’s great for a family gift, a class tree, or just for fun! The free printable will help students brainstorm their ideas and the directions are great to send home so they can recreate it over break! Check it out in action here:

Important Tips & Tricks

These plastic cup ornaments took a little bit of trial and error to get the most perfect one! Luckily, we did all the legwork for you, so yours will only take one try. (We will spare you the outtake photos haha!) Here’s what you need to keep in mind:

  • Your cups HAVE to have a #6 or All-Purpose like these from Walmart inside the recycling emblem on the bottom! Any other type of plastic won’t shrink correctly.
  • 9 oz. seemed to be the best size for the finished product.
  • NO smell came through while in the oven.
  • The perfect setting seemed to be a 350-degree oven for about 1 and a half minutes. Any shorter and they don’t flatten, any longer and they start to shrivel up. Pressing them immediately with something heavy like a frying pan or bowl will get them even flatter.
  • Punching the hole in the ornament beforehand will create a smaller slit. If you would like it to be a larger hole, do it as soon as it comes out of the oven while it’s still warm.
  • The more coloring done on the cup, the more decorative the ornaments will be. Even a little blank space shows a lot of white.

Plastic Cup Ornament Directions

You won’t believe how easy these are! Just a few steps to the perfect keepsake! Our free printable at the bottom will also have all of these directions for you, so you can do them again and again.

Materials:

  • Sharpies/Permanent Markers (regular markers or crayons won’t work)
  • Plastic Cups with #6 type recycled plastic
  • Hole Puncher
  • String/Ribbon
  • Cookie sheet covered with aluminum foil or parchment paper

Steps:

  1. Have students brainstorm their designs on the free printable planning sheet.
  2. Place cups upside down on the table. The bottom becomes the center of the ornament.
  3. Color/decorate the cups with a permanent marker.
  4. Punch a hole on the side of the cup towards the opening.
  5. Preheat oven to 350 degrees.
  6. Place cups upside down on the cookie sheet.
  7. Bake for about 1.5 minutes. Watch carefully! As soon as they flatten back down, take them out.
  8. Press down firmly with something large/heavy.
  9. If you haven’t already, punch a hole in the top while still warm.
  10. Tie a ribbon or string through.
Aren’t they beautiful?

Free Printable

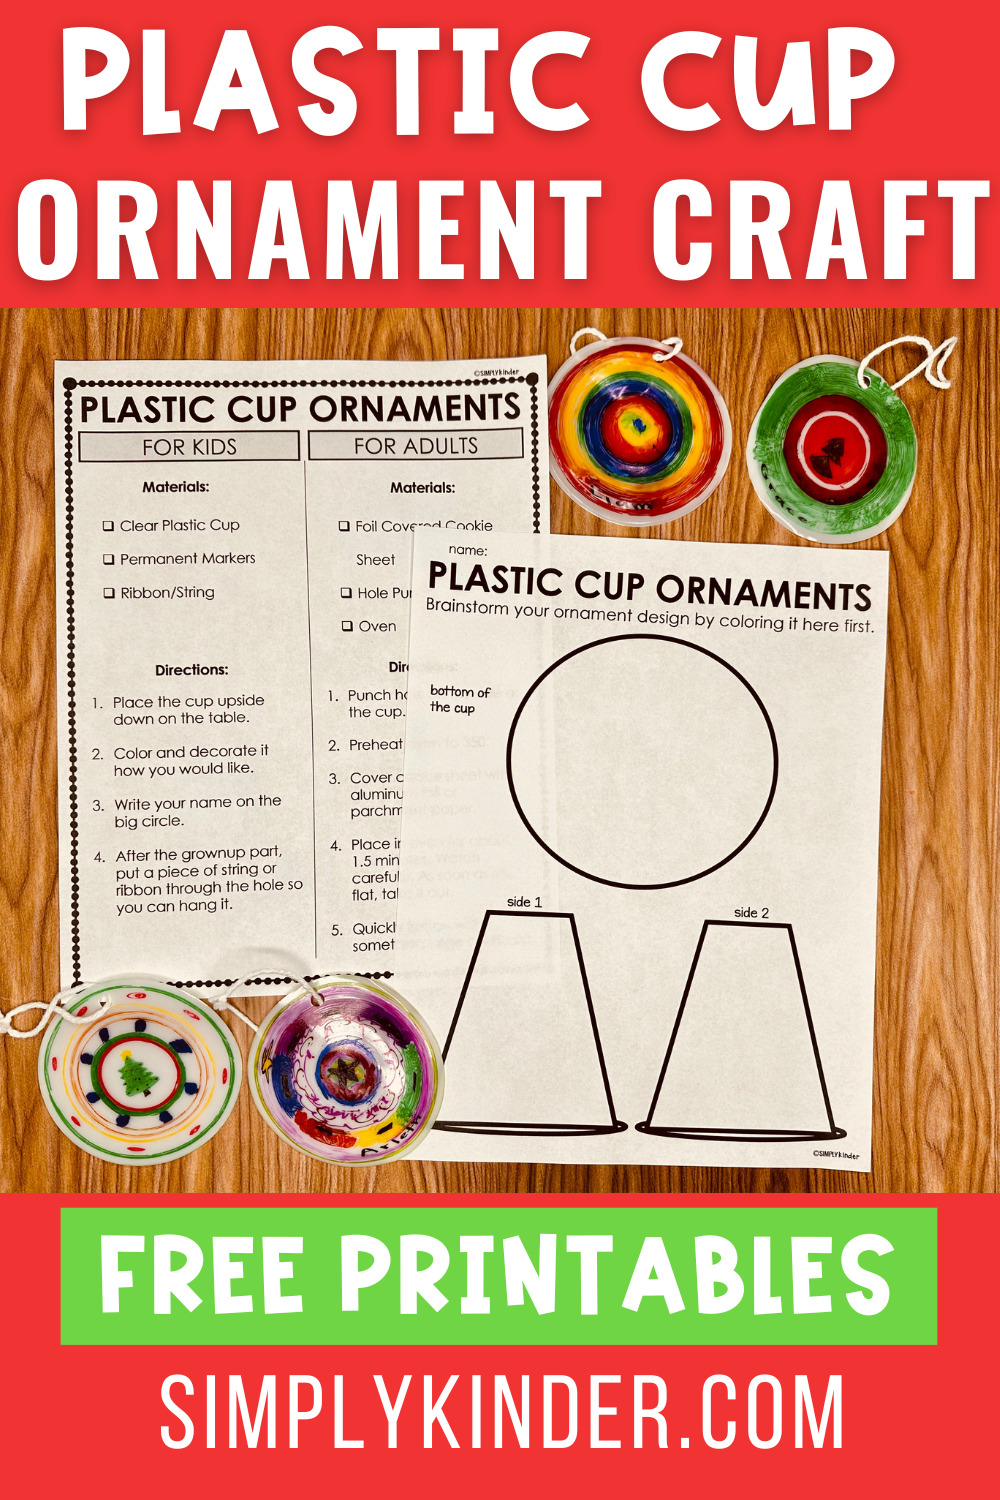
Make sure you grab your free printable below! The easy planning sheet will allow students to brainstorm their designs ahead of time. This is a great way to introduce brainstorming/graphic organizers for when they are writing. The direction page is broken into the kid and adult sides which is perfect for talking about dividing responsibilities and safety (no ovens for them!)

Enter your information below and the Simply Kinder Freebie Fairy will send that right over to your inbox. Already a subscriber? No worries! Just unlock it here too. Or if you’re a member of Simply Kinder +, you can download it instantly here!

We would LOVE to see your finished plastic cup ornaments. Make sure you tag #simplykinder if you share any photos on Instagram. Or show us in a post on our Simply Kinder Teacher Group Facebook Page.

Read directions and tips for creating these low-pep, easy, adorable plastic cup ornaments with your kindergarten class this month!

This post was written by Johanna, an experienced early elementary teacher who loves learning about new teaching ideas for preschool, kindergarten, and first grade!

At Simply Kinder we work together to bring you ready-to-use resources to partner with great teaching for any curriculum, a Facebook community where teachers talk all things Kindergarten, and low-prep learning ideas that your students will love. Be sure to stay up to date with all things kindergarten on InstagramFacebookPinterest, and through email. Simply Kinder: where teaching Kinder is definitely better together!

With Unmatched Printables & Engaging Classroom Ideas, Simply Kinder is your TRUSTED TEAMMATE.

GET OUR EMAILS

Get our emails loaded with free resources, teaching ideas, and so much more! 

WHAT'S NEW?

$5.00
$9.00

You might also like...

HEre's your freebie!

Here's a coupon code for your next purchase!

CODE: 123456

You might also like:

1