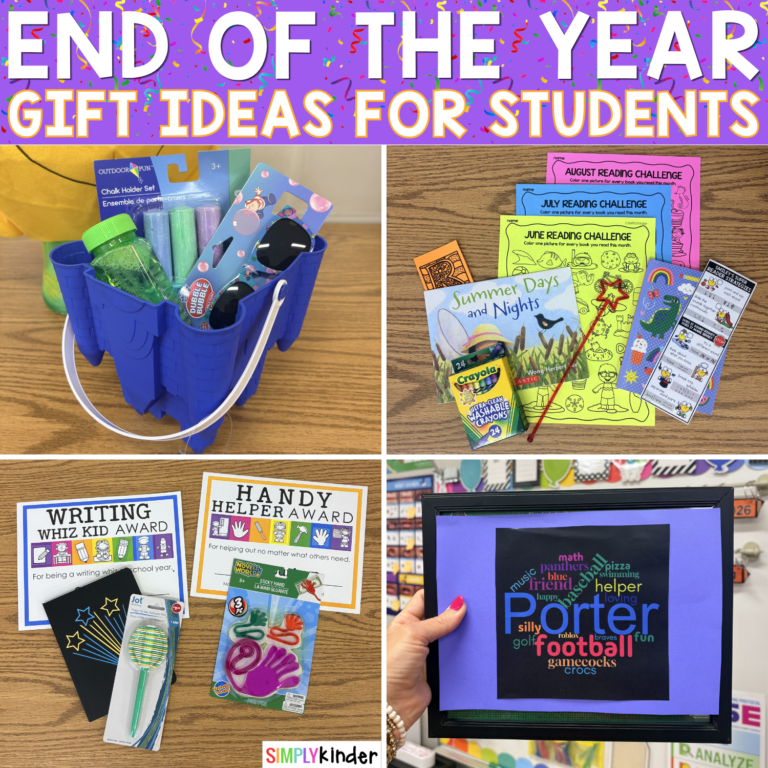

Get step-by-step directions right here for creating end of the year pillowcases with your students! Create a wonderful memorial keepsake! Read more to find out exactly how to do this in your classroom!
For years I had done shirts with signatures but never really liked how the students would grow out of them. And so then I moved to pillowcases with handprints and after a few years, the thought of doing 25 handprints on 25 pillows just became such a project! Then it hit me, let’s merge the two in a less messy way and have the students sign pillowcases! And now this cute little pillowcase is my favorite end of year keepsake!
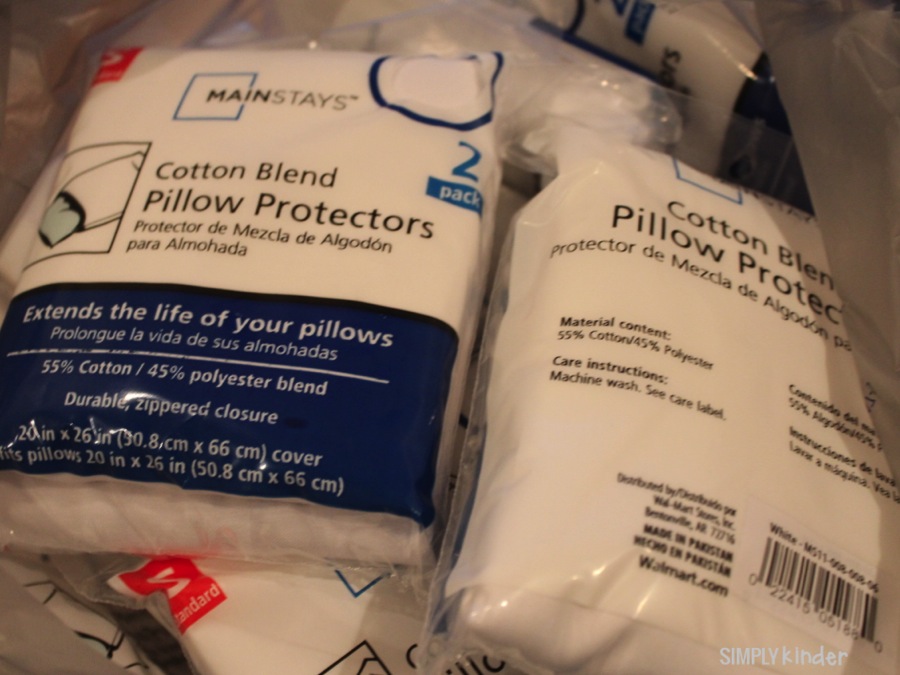
I started by asking each student to bring in a new, white pillowcase. I got most of them from the students and only had to purchase a few (of which I got these pillow protectors from Walmart because they were super cheap.) Keep reading and we will give you that flyer.
As the student pillowcases come in, write the students name on them in marker. This will help you identify whose is whose.
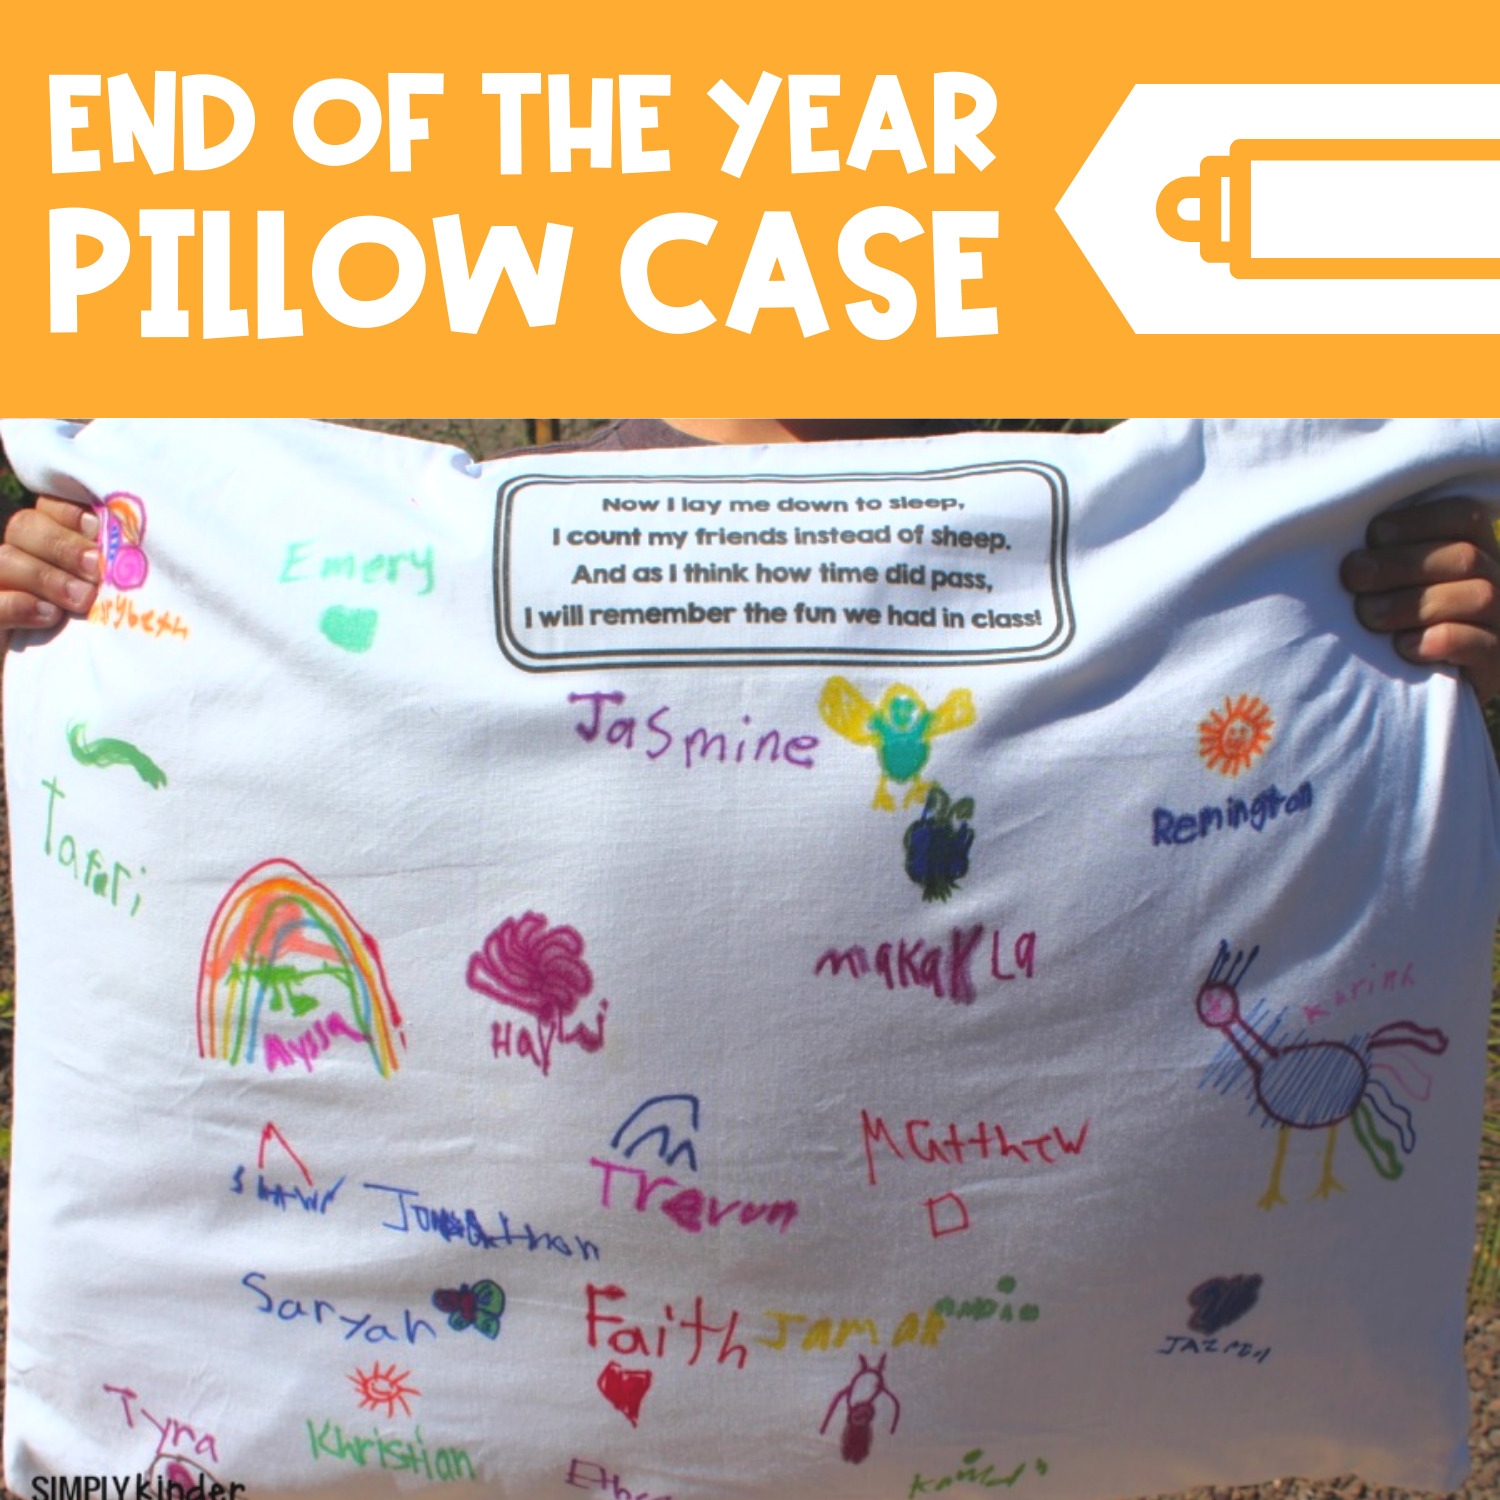
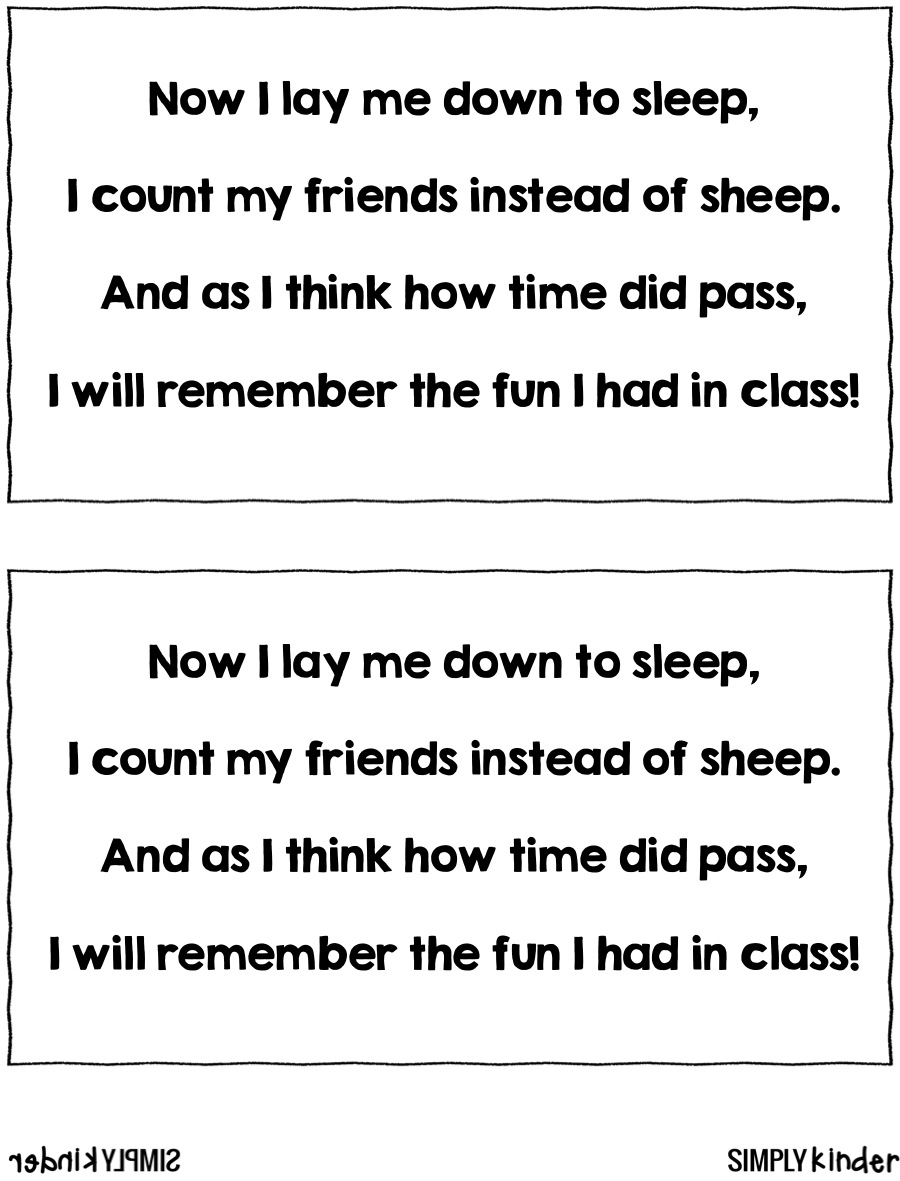
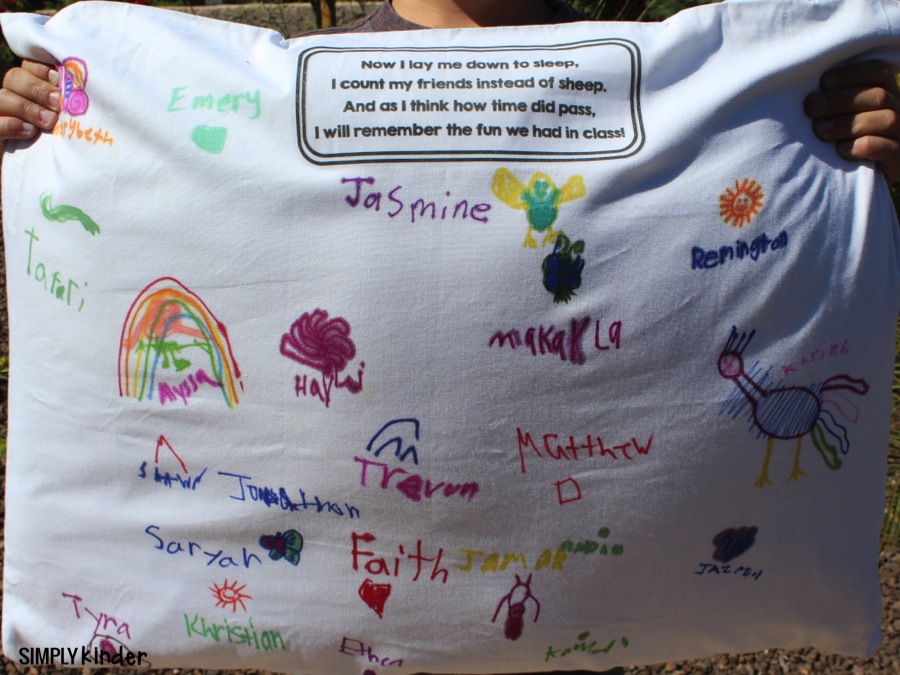
After you have all of your pillowcases, you will need to prep the saying on them. The saying says:
Now I lay me down to sleep,
I count these names instead of sheep.
And as I think how time did pass,
I will remember the fun I had in class.
(If you choose, you can easily add to the poem your name or grade level before the world class.)
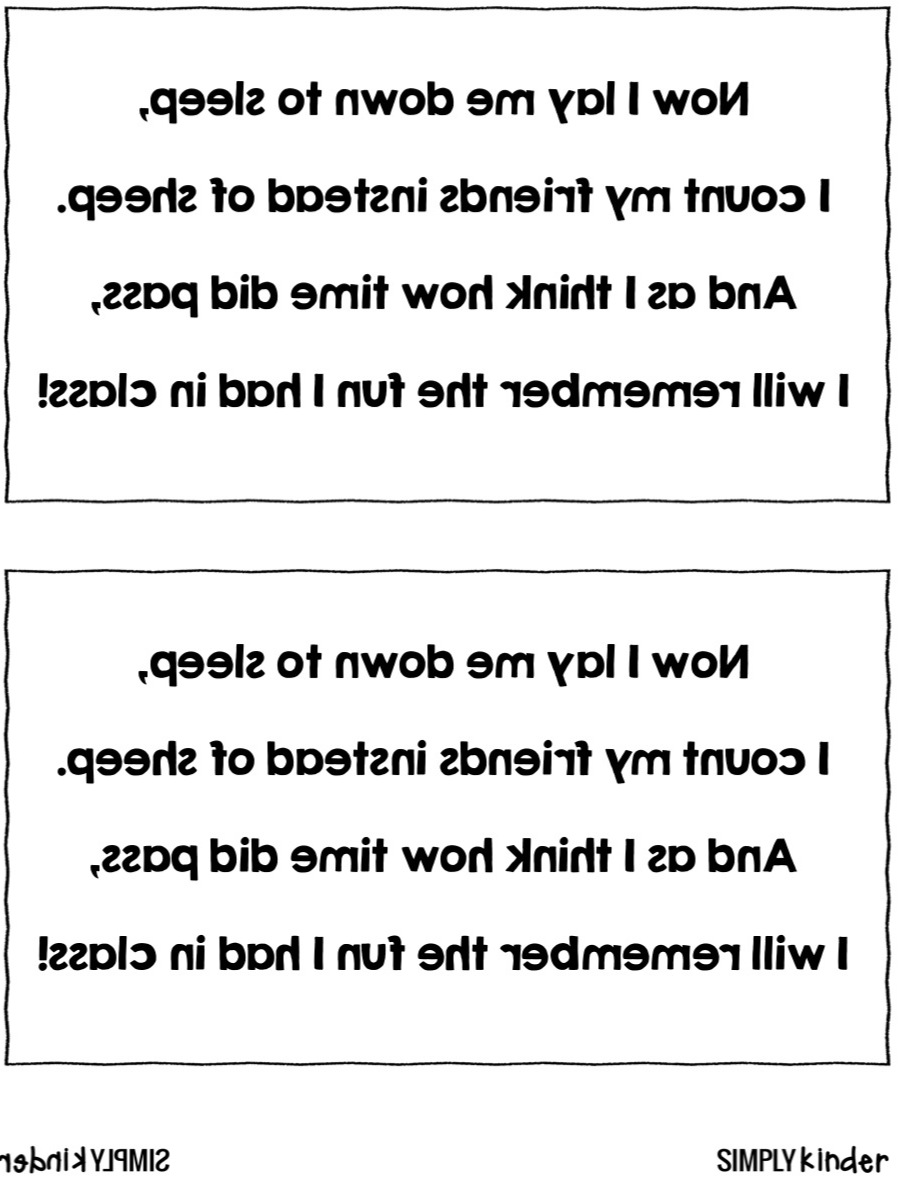
To make it easier for you to do this project, I also included a copy of the poem for you to download! ( Keep reading for the download). This is where it get’s a little tricky and I cannot really help you much, I can only share some words of advice. Next step is to print the poem on fabric transfer paper.
I get the Avery Fabric Transfers right from Amazon because you really cannot get them any cheaper. You follow the directions on the box based off of your printer and operating system. For me, I print them backward (or the poem shown on the right above). The box will give you full directions on how to do it, but I gave you two versions of the poem in the download just in case!
(Tip: print on paper first so you don’t waste the transfers.)
Next step is to iron on the transfers to the pillows. Again, follow the directions for the transfers you purchased.
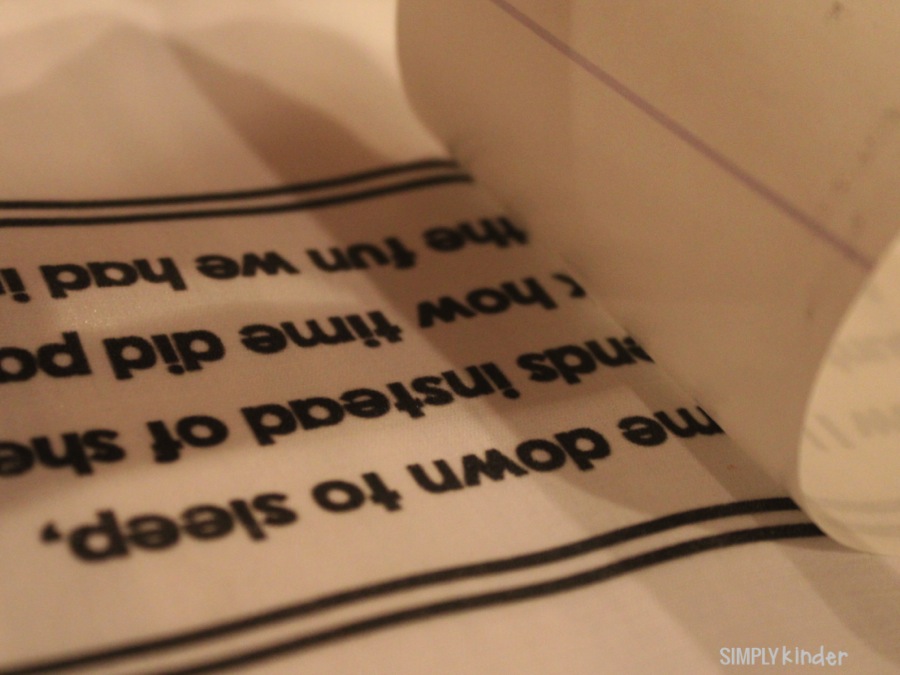
Here are my recommendations for ironing on your poems:
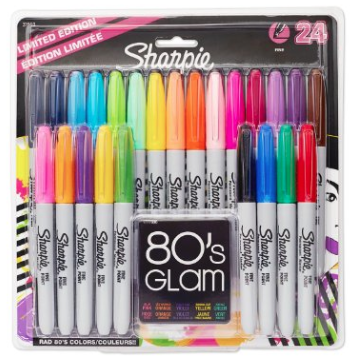
You, of course, will want to do all this prior to the day of the activity with your students. You will also want to gather a variety of Sharpie Markers and also place a piece of construction paper inside each pillowcase so the markers don’t bleed through! When I purchased my markers, I looked for packs that had a colorful selection, figuring the kids would want those as opposed to the softer colors.
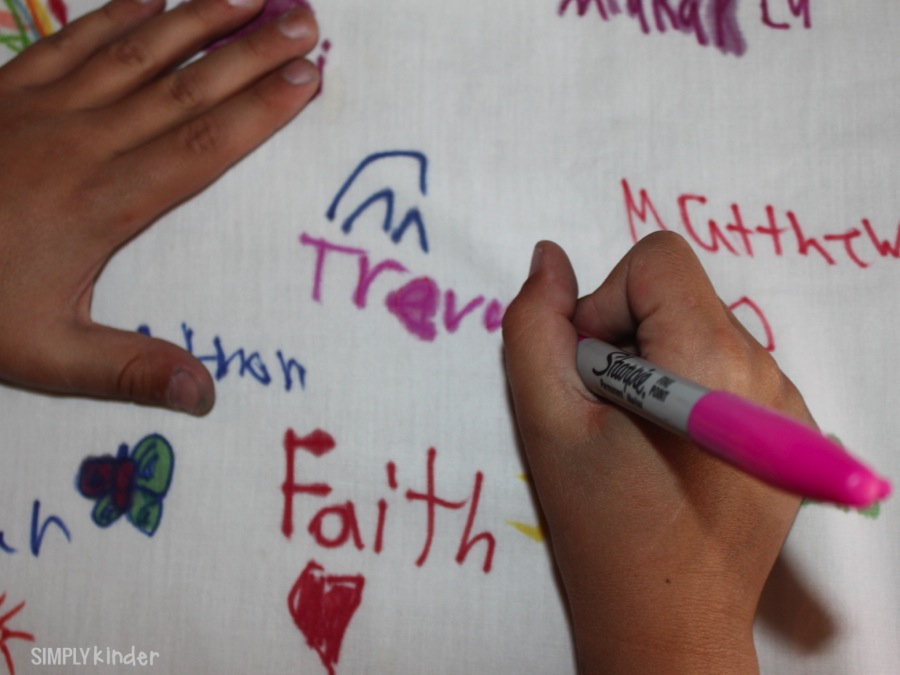
Now you are ready to start signing with your students! You will, of course, want to MODEL, MODEL, MODEL! Use an extra pillowcase to show the students how to hold the fabric while they write and explain to them that writing on fabric is different than writing on paper. Show them to hold the fabric (sort of) tightly with one hand and lay their arm on the pillowcase when they are writing. I allow my students to write their names and draw a small, simple picture! Some years I have even let each student practice on my pillowcase before they start.
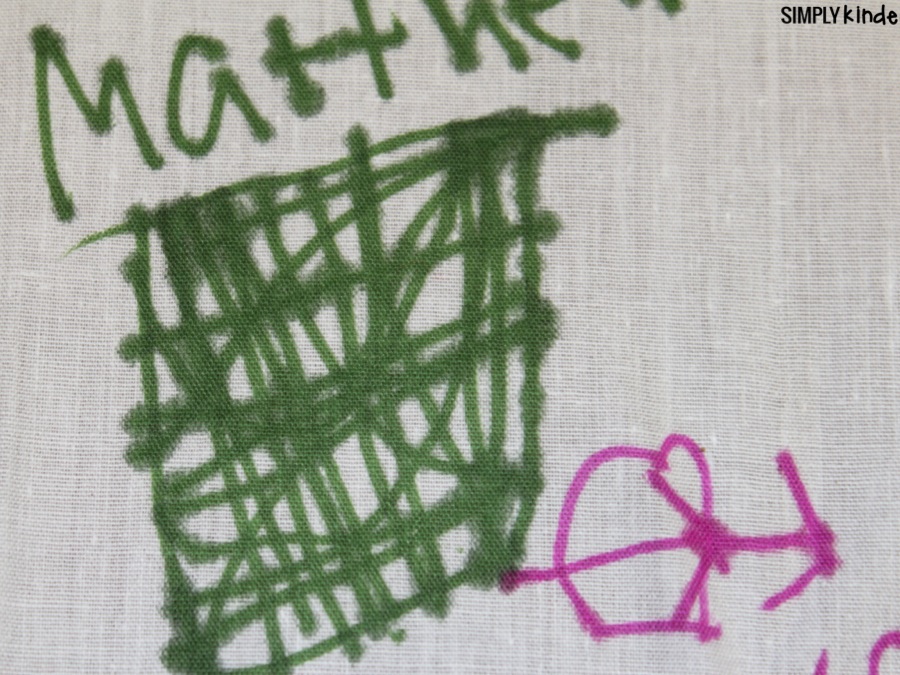
You will also want to show kids how the markers will bleed and how things are a little difficult to “color in.” Tell the kids NOT to cross things out and to really think about what they are writing and drawing. It’s important because students are writing on someone else’s pillowcases. I tell them this explicitly and say, “You don’t want your pillowcase to have scribbles or things crossed off on it do you?”
Now you are REALLY ready to get started. I line the pillowcases up in a row around my classroom and the students literally go all the way around the room and sign as they go.

If any students are absent, we will add their pillowcases to the row so we don’t have to do this again as a full class. I will not let the students take the pillowcases home so any absent students can sign them all as well too.
And there you have it, great little pillowcases that your students will sleep with and treasure! When they are done we love to do a reading day with them.


And if you want to know how to customize the pillowcases to have your name and year, watch this video!
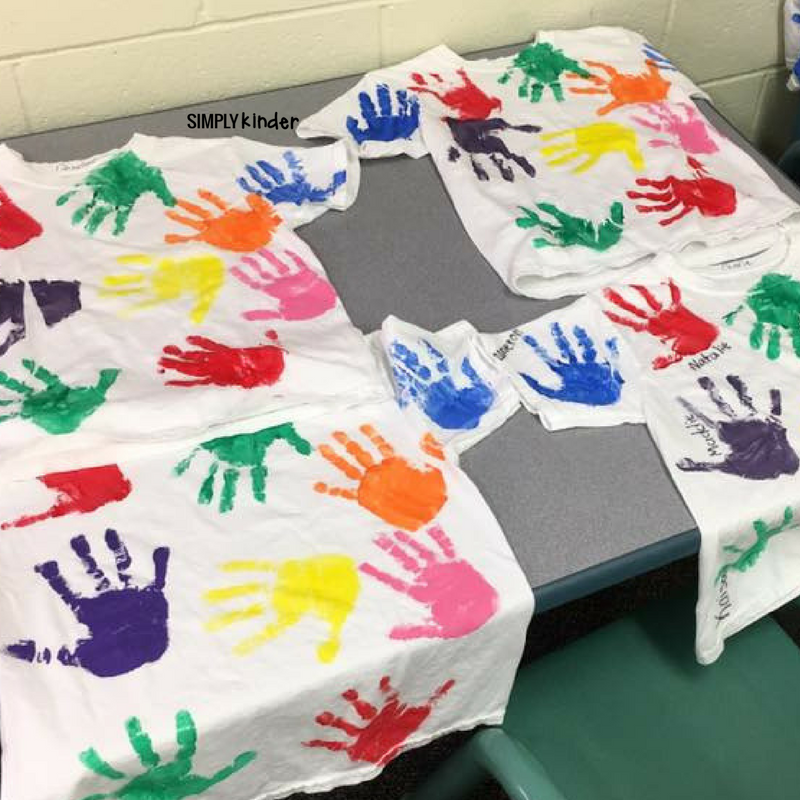
Another variation that we have seen in the Simply Kinder Teacher Group is making shirts. Check out how Ms. LaRosa make these fun shirt.
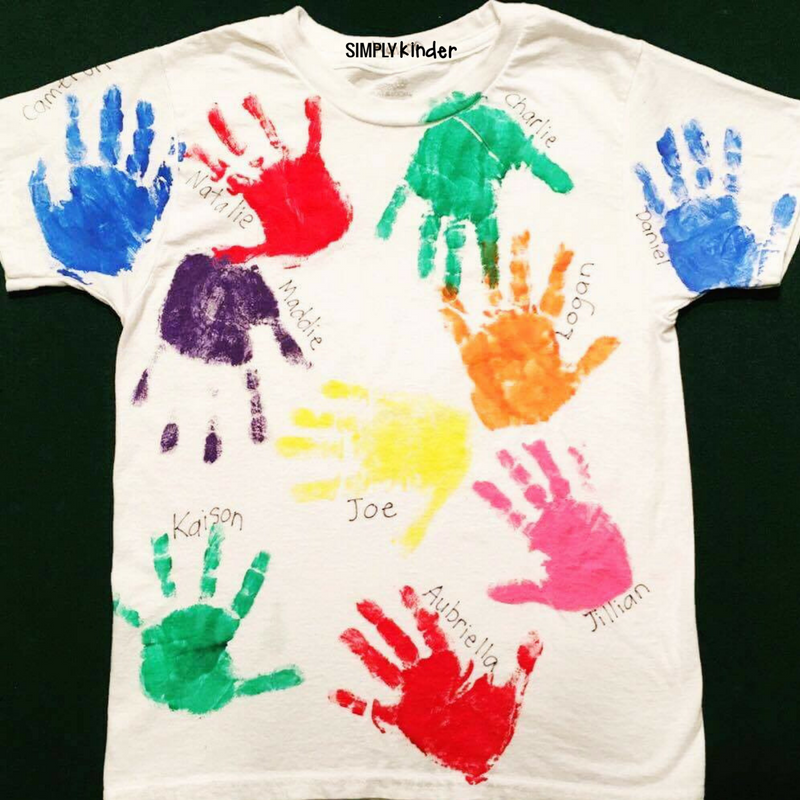
Each child has a white shirt and they put the handprints on there. I have done these as well as a teacher and I can tell you they are a lot of work, you will need volunteers, but they are well worth the time and effort. It’s just so fun to wear them as a class. Click here to read more about how Ms. LaRosa pulled these adorable shirts off.
Grab your free Pillowcase Poem from Simply Kinder + HERE. You can access the entire freebie library by signing up for the free plan or upgrading to unlimited to unlock ALL Simply Kinder resources for one price in one place HERE.
And be sure to check out these resources: