

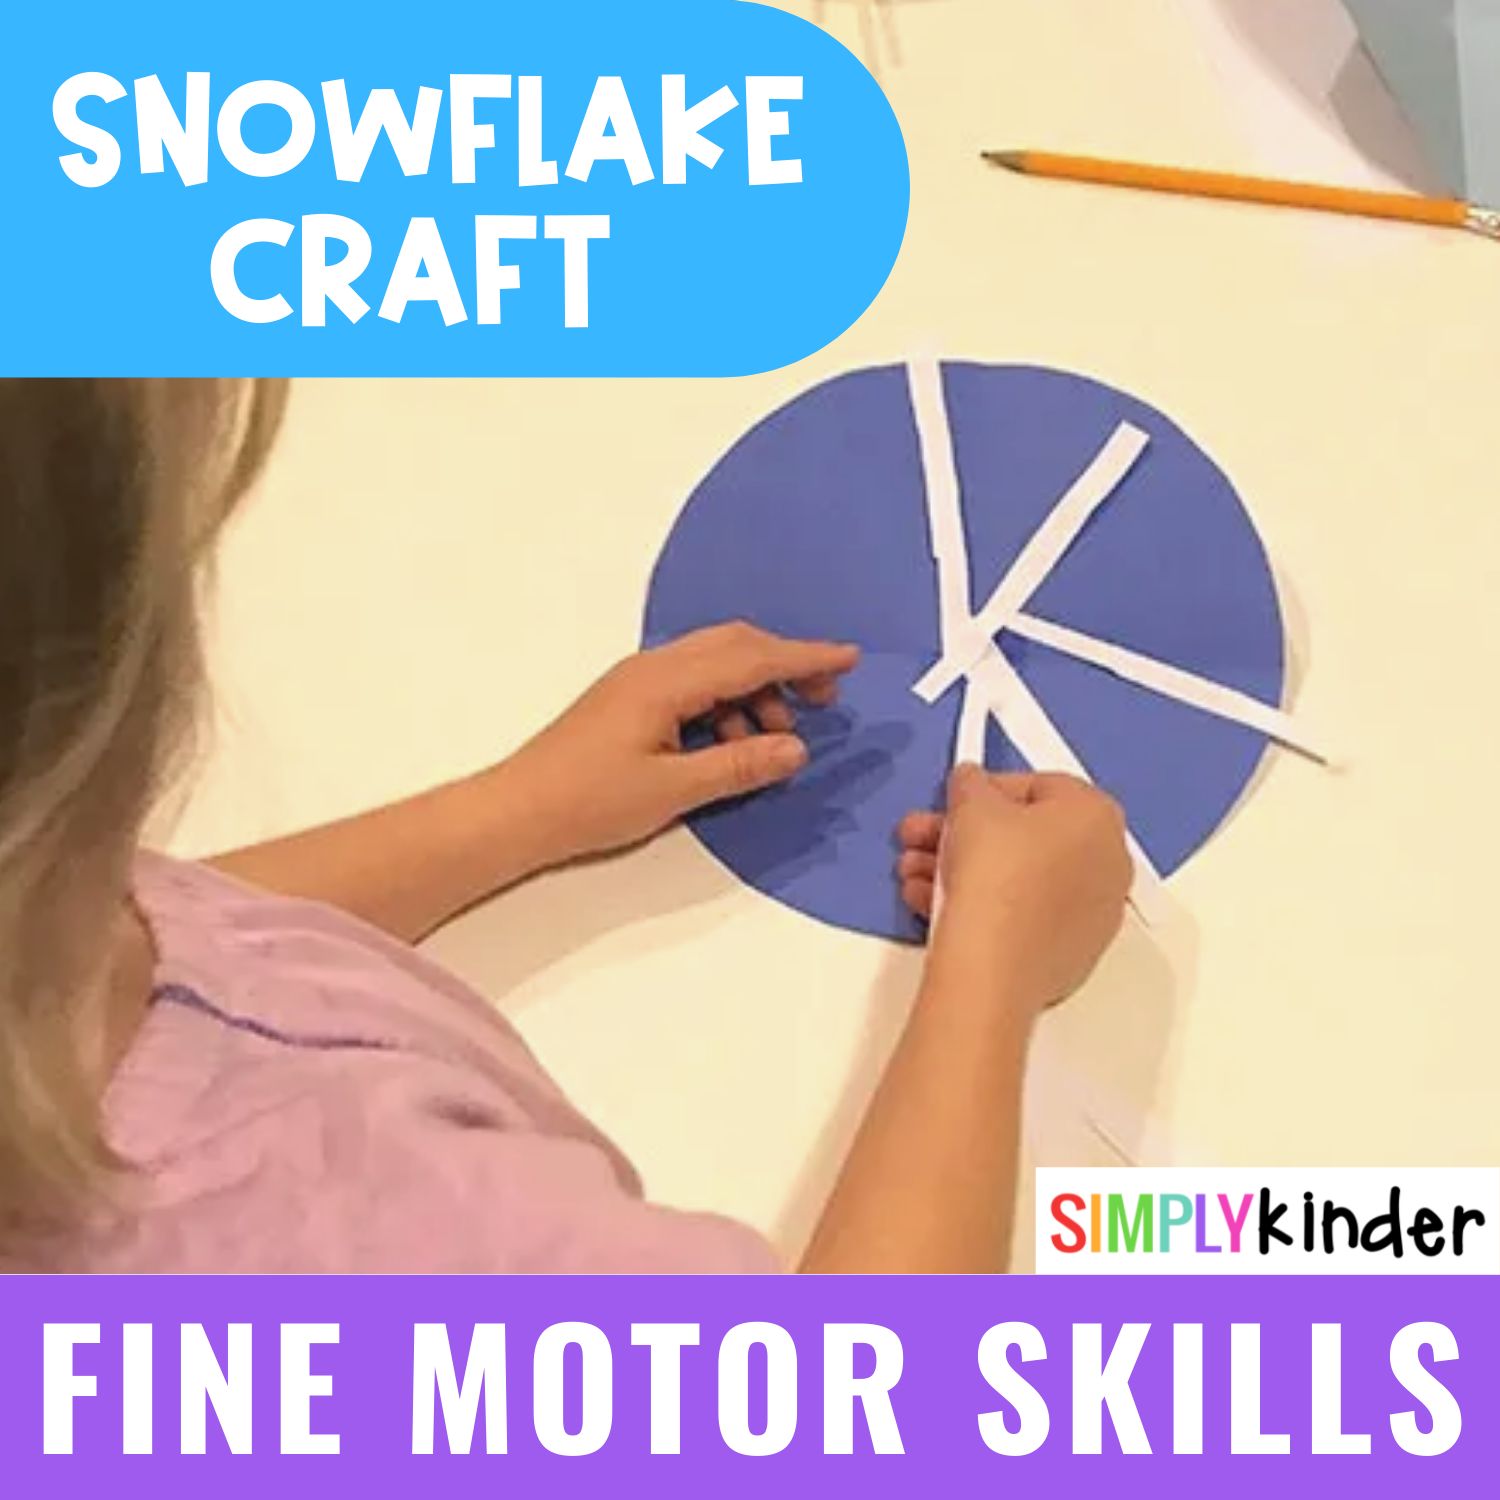
Strengthen fine motor muscles with snowflakes crafts. This easy winter craft for kids involves cutting, gluing, using a paintbrush, and art! My family loves the snow but every winter we have to travel to find colder temperatures and winter play. We made Itsy Bitsy Spider Webs for fall so we decided to cut more circles for winter snowflakes. Once we have several of these snowflake crafts completed we’ll hang them from the ceiling for our own little snow flurry. The snowflake crafts I’m sharing today can be done separately or together in a classroom or at home.
Blue paper
Light blue paper
White paper
Glue
Paintbrushes or sponges (if not using glue sticks)
Glitter (optional)

Start by cutting circles out of the blue pieces of paper. Fold each circle in half and then in half again to create two crossing seams in the paper.
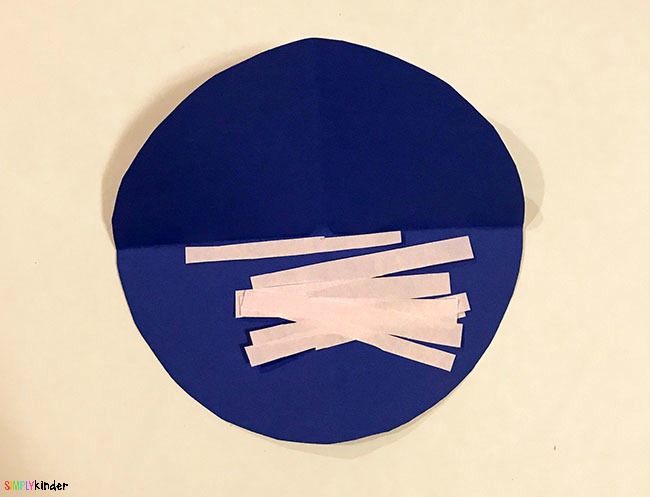
Cut strips of white paper
Use the paintbrush or a glue stick to trace the seams with glue. Add a circle of glue in the middle of the paper.
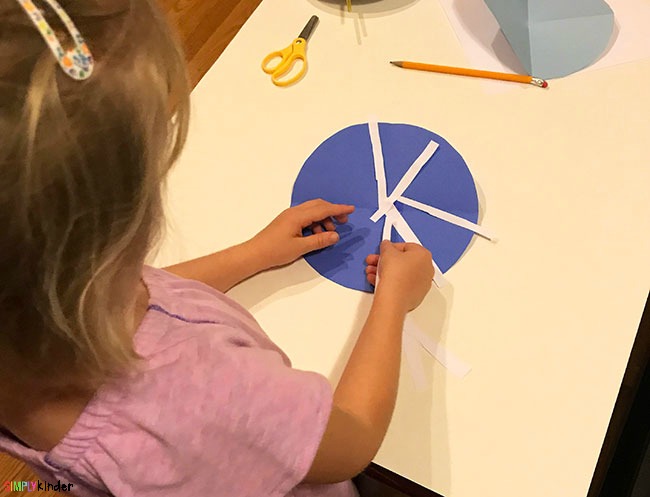
Attach the ends of the strips of paper to the center of the circle spreading outward around the paper to create a snowflake.
Start the craft by cutting and folding the paper like you did with the paper strip snowflakes. This time add more designs with the glue on the paper. Using a paintbrush is a good way to add fine details and give kids the chance to “paint.”
Dust glitter over the glue and shake off the excess glitter. Add a little glue to the center of the circle to attach some paper strips. Let the glue dry.
Hang the snowflakes from the ceiling to create your own winter wonderland. Just like in nature, each snowflake will be unique just like the kids who created them!